Serve an HTML page to read and write ESP8266 data
In the past article, we’ve seen how to write a basic WebServer using the ESP8266WebServer.h library. In this post, we will explore how to create an ESP8266 web server that serves an HTML page showing mock sensors data and accepts input through a form using POST requests.
This comes super handy whenever you need to interact with your ESP8266 firmware, as we typically have our board connected to the WiFi.
As always, we’ll first show the code, then we’ll break it down piece by piece :)
The code
First things first, we start off by creating an HTML file that will display the mock sensor data and a form to accept user input. We normally might want to do it on our PC, as we can immediately check on the browser how it’s looking like. Here’s a simple example:
<!DOCTYPE html>
<html>
  <head>
    <title>ESP8266 Web Server</title>
  </head>
  <body>
    <h1>Mock Sensor Data</h1>
    <p>Temperature: <span id="temperature">--</span>°C</p>
    <p>Humidity: <span id="humidity">--</span>%</p>
    <form method="POST" action="/">
      <label for="name">Name:</label>
      <input type="text" id="name" name="name" required>
      <button type="submit">Submit</button>
    </form>
  </body>
</html>
So far, so good. We’re going to show Temperature and Humidity data in the first two HTML paragraphs:
<p>Temperature: <span id="temperature">--</span>°C</p>
<p>Humidity: <span id="humidity">--</span>%</p>
Then we render a form to retrieve user input:
<form method="POST" action="/">
  <label for="name">Name:</label>
  <input type="text" id="name" name="name" required>
  <button type="submit">Submit</button>
</form>
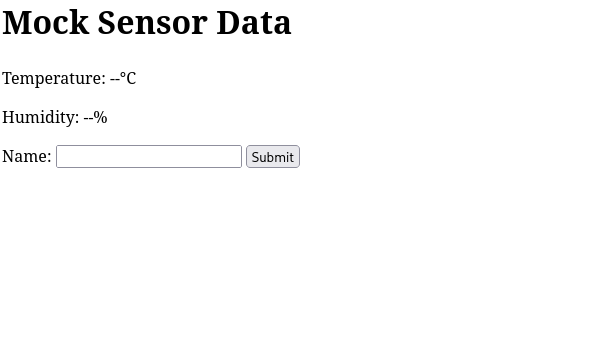
Save this as index.html file on your computer, then serve it locally through a simple webserver (if you have node installed on your pc and you’re on linux, try smashing npx http-server . on your terminal). Now open the browser and check the result, it should look like this:

Rather.. simple, right?
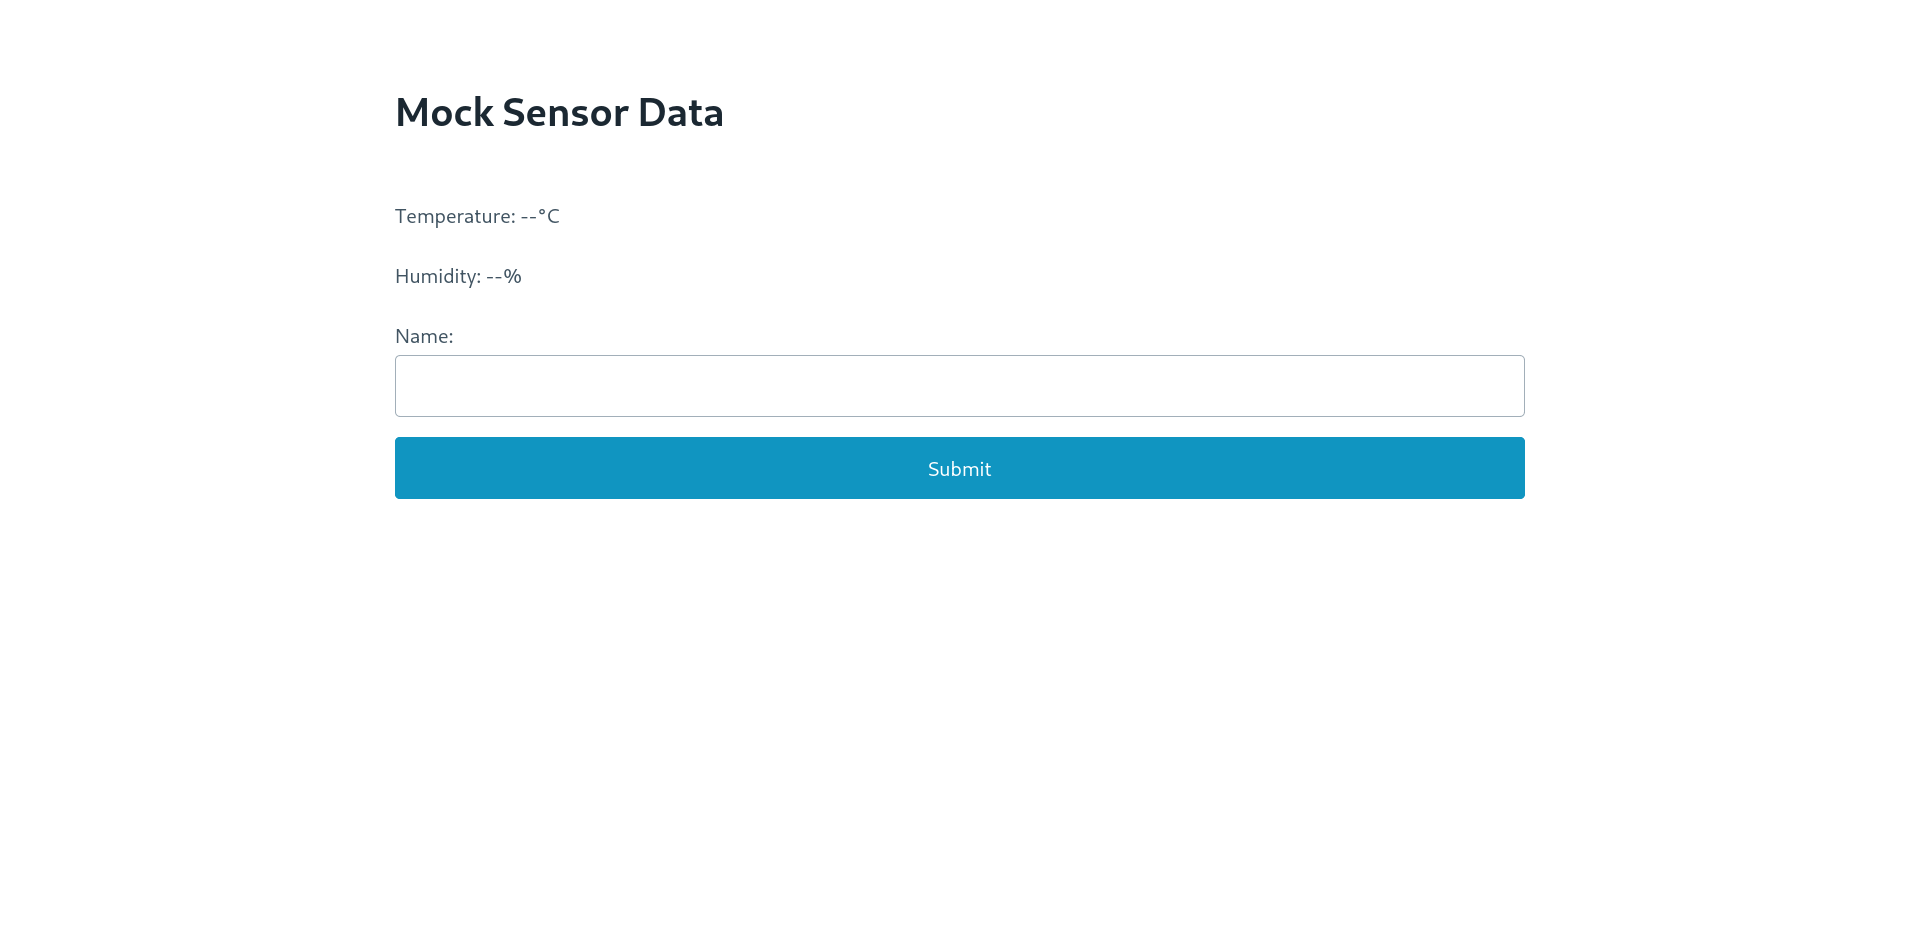
BONUS: If you want to substantially improve the apparel of your page, try dropping a CSS library like PicoCSS. Modify the code like this:
<!DOCTYPE html>
<html>
  <head>
    <title>ESP8266 Web Server</title>
    <link rel="stylesheet" href="https://unpkg.com/@picocss/pico@1.*/css/pico.min.css">
  </head>
  <body>
    <main class="container">
      <h1>Mock Sensor Data</h1>
      <p>Temperature: <span id="temperature">--</span>°C</p>
      <p>Humidity: <span id="humidity">--</span>%</p>
      <form method="POST" action="/">
        <label for="name">Name:</label>
        <input type="text" id="name" name="name" required>
        <button type="submit">Submit</button>
      </form>
    </main>
  </body>
</html>
And here’s the result:

Waaaay better, right?
A fair objection would be that we’re serving the PicoCSS library from a CDN, it would be better to serve it from the ESP8266 itself. We’ll cover that in another post when we’ll talk about SPIFFS (SPI Flash File System).
Now, let’s jump back on the Arduino IDE and let’s write the sketch on our ESP8266:
#include <ESP8266WiFi.h>
#include <WiFiClient.h>
#include <ESP8266WebServer.h>

// Replace with your network credentials
const char* ssid = "SSID";
const char* password = "PASSWORD";

ESP8266WebServer server(80);

String name = "";

void handleRoot() {
  // Read sensor data (mock data)
  float temp = random(18, 30);
  float humidity = random(30, 70);

  String html = "<html><body>";
  html += "<h1>Mock Sensor Data</h1>";
  html += "<p>Temperature: <span id='temperature'>" + String(temp) + "</span>°C</p>";
  html += "<p>Humidity: <span id='humidity'>" + String(humidity) + "</span>%</p>";
  html += "<form method='POST' action='/'>";
  html += "<label for='name'>Name:</label>";
  html += "<input type='text' id='name' name='name' required>";
  html += "<button type='submit'>Submit</button>";
  html += "</form></body></html>";

  server.send(200, "text/html", html);
}

void handlePost() {
  name = server.arg("name");
  server.send(200, "text/html", "Thanks, " + name + "!");
}

void handleNotFound() {
  server.send(404, "text/plain", "404: Not found");
}

void setup() {
  Serial.begin(115200);
  WiFi.begin(ssid, password);

  while (WiFi.status() != WL_CONNECTED) {
    delay(1000);
    Serial.println("Connecting to WiFi...");
  }

  Serial.println("Connected to WiFi");
  Serial.println("IP address: " + WiFi.localIP().toString());

  server.on("/", HTTP_GET, handleRoot);
  server.on("/", HTTP_POST, handlePost);
  server.onNotFound(handleNotFound);

  server.begin();
}

void loop() {
  server.handleClient();
}
Run this on your ESP8266, check the IP address on the Serial Monitor, open your browser to <ESP8266_IP_ADDRESS>/ and watch your awesome page!
Let’s take a look at the code step by step.
Let’s break it down
We start off by including a bunch of standard libraries:
#include <ESP8266WiFi.h>
#include <WiFiClient.h>
#include <ESP8266WebServer.h>
We define the WebServer instance and WiFi credential constants (to be filled with your WiFi configuration):
const char* ssid = "SSID";
const char* password = "PASSWORD";

ESP8266WebServer server(80);

String name = "";
In the setup() function we:
- Initialize the serial interface (115200 baud)
- Connect to the WiFi
- Initialize the WebServer passing the route handlers
handleRoot,handlePostandhandleNotFound.
void setup() {
  Serial.begin(115200);
  WiFi.begin(ssid, password);

  while (WiFi.status() != WL_CONNECTED) {
    delay(1000);
    Serial.println("Connecting to WiFi...");
  }

  Serial.println("Connected to WiFi");
  Serial.println("IP address: " + WiFi.localIP().toString());

  server.on("/", HTTP_GET, handleRoot);
  server.on("/", HTTP_POST, handlePost);
  server.onNotFound(handleNotFound);

  server.begin();
}
The handleRoot() function, will respond to HTTP GET requests with the HTML page we defined before, filling it up with some random values for temperature and humidity:
void handleRoot() {
  // Read sensor data (mock data)
  float temp = random(18, 30);
  float humidity = random(30, 70);

  String html = "<html><body>";
  html += "<h1>Mock Sensor Data</h1>";
  html += "<p>Temperature: <span id='temperature'>" + String(temp) + "</span>°C</p>";
  html += "<p>Humidity: <span id='humidity'>" + String(humidity) + "</span>%</p>";
  html += "<form method='POST' action='/'>";
  html += "<label for='name'>Name:</label>";
  html += "<input type='text' id='name' name='name' required>";
  html += "<button type='submit'>Submit</button>";
  html += "</form></body></html>";

  server.send(200, "text/html", html);
}
On the other hand, the handlePost() function accetps POST requests and responds echoing the value back to the client:
void handlePost() {
  name = server.arg("name");
  server.send(200, "text/html", "Thanks, " + name + "!");
}
We also respond with an evergreen 404 to unsupported requests:
void handleNotFound() {
  server.send(404, "text/plain", "404: Not found");
}
Lastly, we let our WebServer do its job in the loop() callback:
void loop(void) {
  server.handleClient();
}
Wrappin’ Up
This is a nice starting point to build a cool and handy UI to interact with your ESP8266. Anyway, serving HTML by concatenating tags in a String can lead to unnecessary long code pretty soon. A better approach would be to store HTML files in the flash (persistent) memory using SPIFFS (SPI Flash File System). We’ll cover this in an another post ;)
Thanks for reading!
Made with ❤️ by Mikepicker